Manchester
Learn the basics of framing with
Nick in Manchester
High wycombe
Learn the basics of framing with
Linette in High Wycombe
| Topics covered | Basics of Framing | Art & Photo Weekend |
|---|---|---|
| Identifying the key elements of a framed picture. | ||
| How to cut a standard mount using specialised tools, for the mounting of a picture. | ||
| Basic methods for attaching a picture to the mount. | ||
| Cutting picture mouldings and joining them to create a frame for the mounted picture. | ||
| Cutting the glass and backboard to fit the frame. | ||
| Assembling the framed picture, including sealing the picture back and adding a hanging cord | ||
| Explore the different presentation and displaying techniques available when mounting a picture. | ||
| Discover and choose the right mount & style for your artwork. | ||
| Learn how to cut double mount. | ||
| Learn how to cut shadow mounts. | ||
| Learn how to float mounts. | ||
| Learn how to plan & cut a multi-aperture mount with several openings for a group of photos. |
🏅 Celebrate the Finish Line: 10% Off Medal & badge Bespoke Framing instore🏅
✖
Having a professional framing service attached to our company has given us the ability to trial and experiment with different techniques. Our frame technician is sharing his trade secrets to help rid the world of wonky picture frames. Here are his 7 tips for perfect corners.
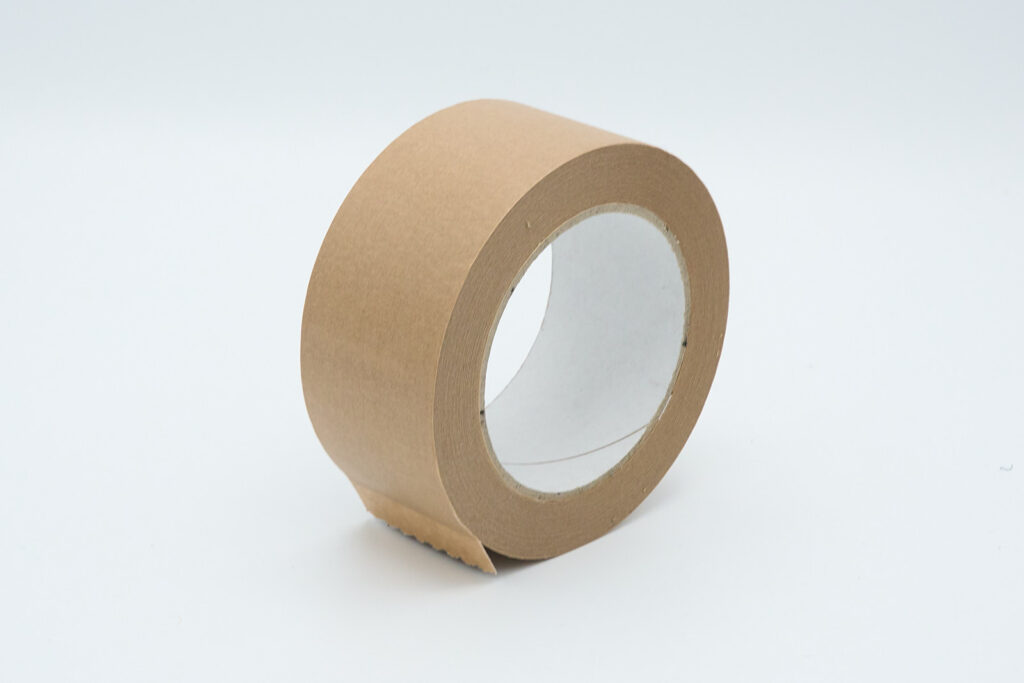
Before cutting your moulding it’s best to check that your saw blade is sharp. You can do this by practicing on the end of the moulding. If the moulding is hard to cut and looks like it’s being shredded then you need to get a new blade on the saw.
When choosing a saw blade for cutting picture frame mouldings, Make sure the TPI (Tooth Per Inch) of the saw you use is relatively small around 18 – 24TPI. This allows for a finer cut which normally work better on mouldings.
New blades for the Nobex can be purchased here:
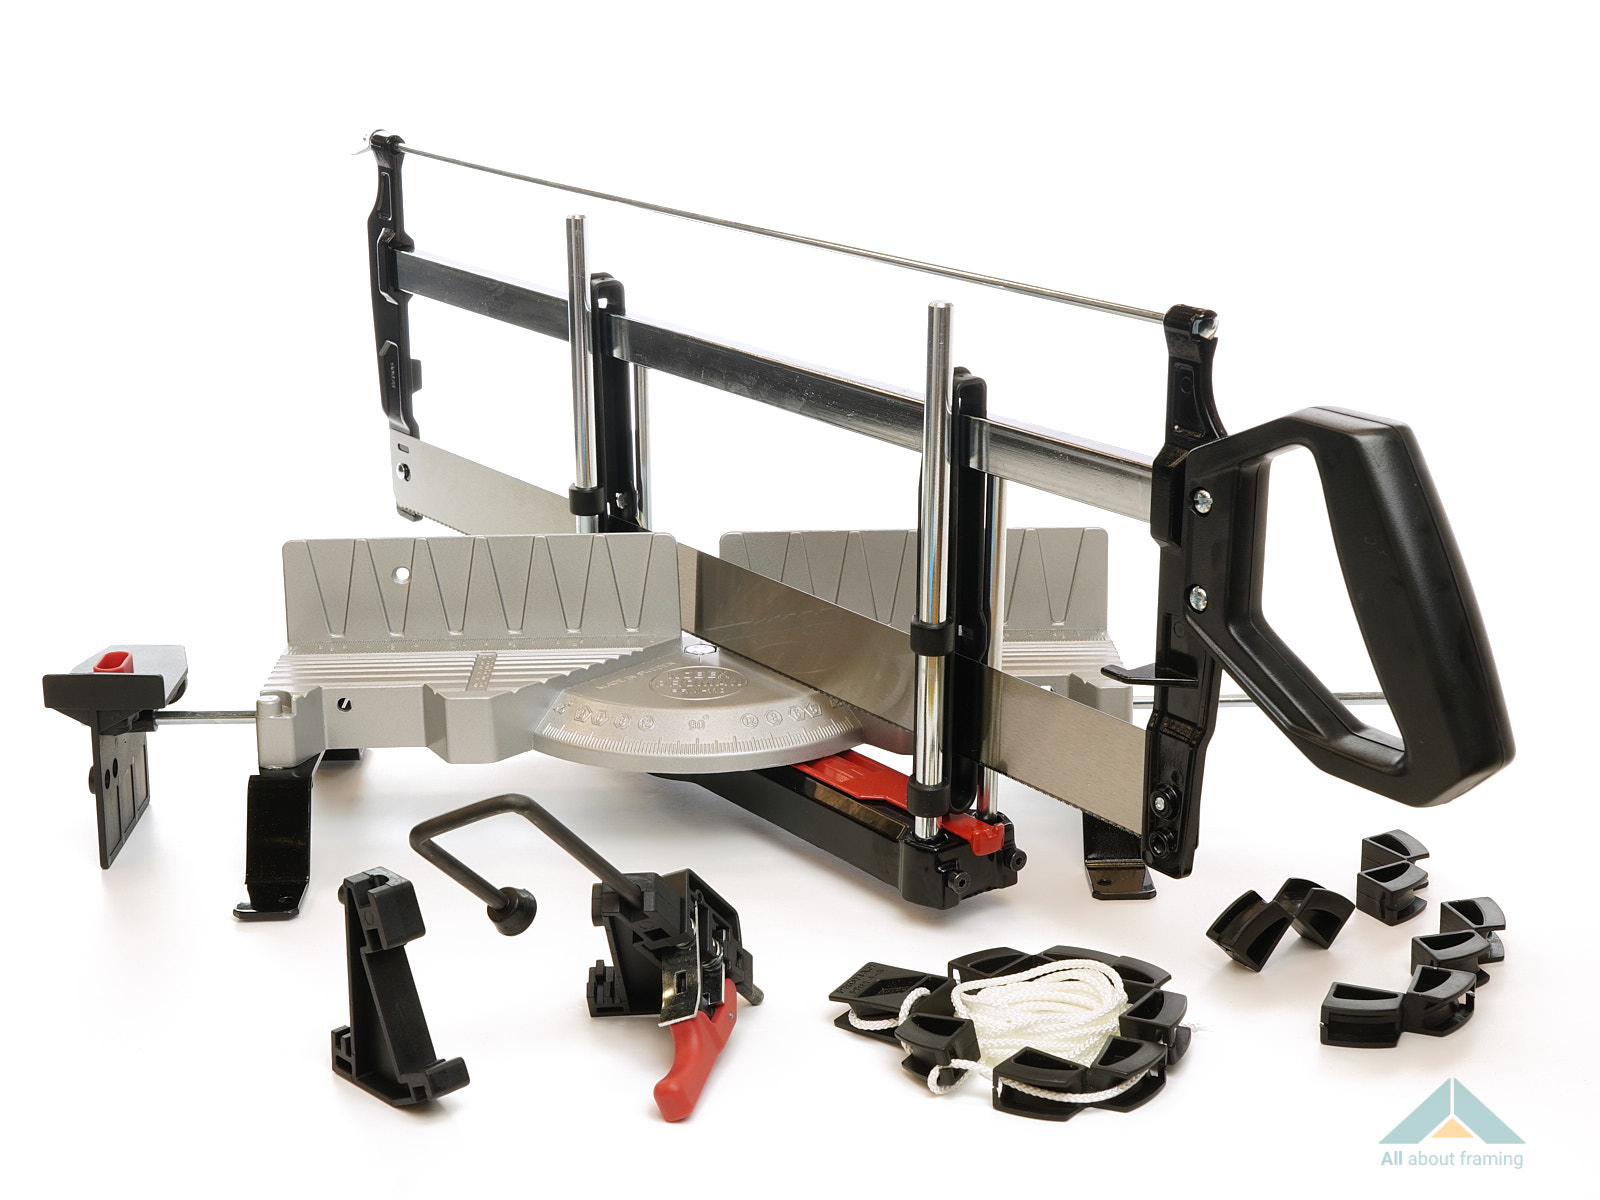
Most saws don’t have a fine or quick enough blade to get a perfect cut every time. What do we use?
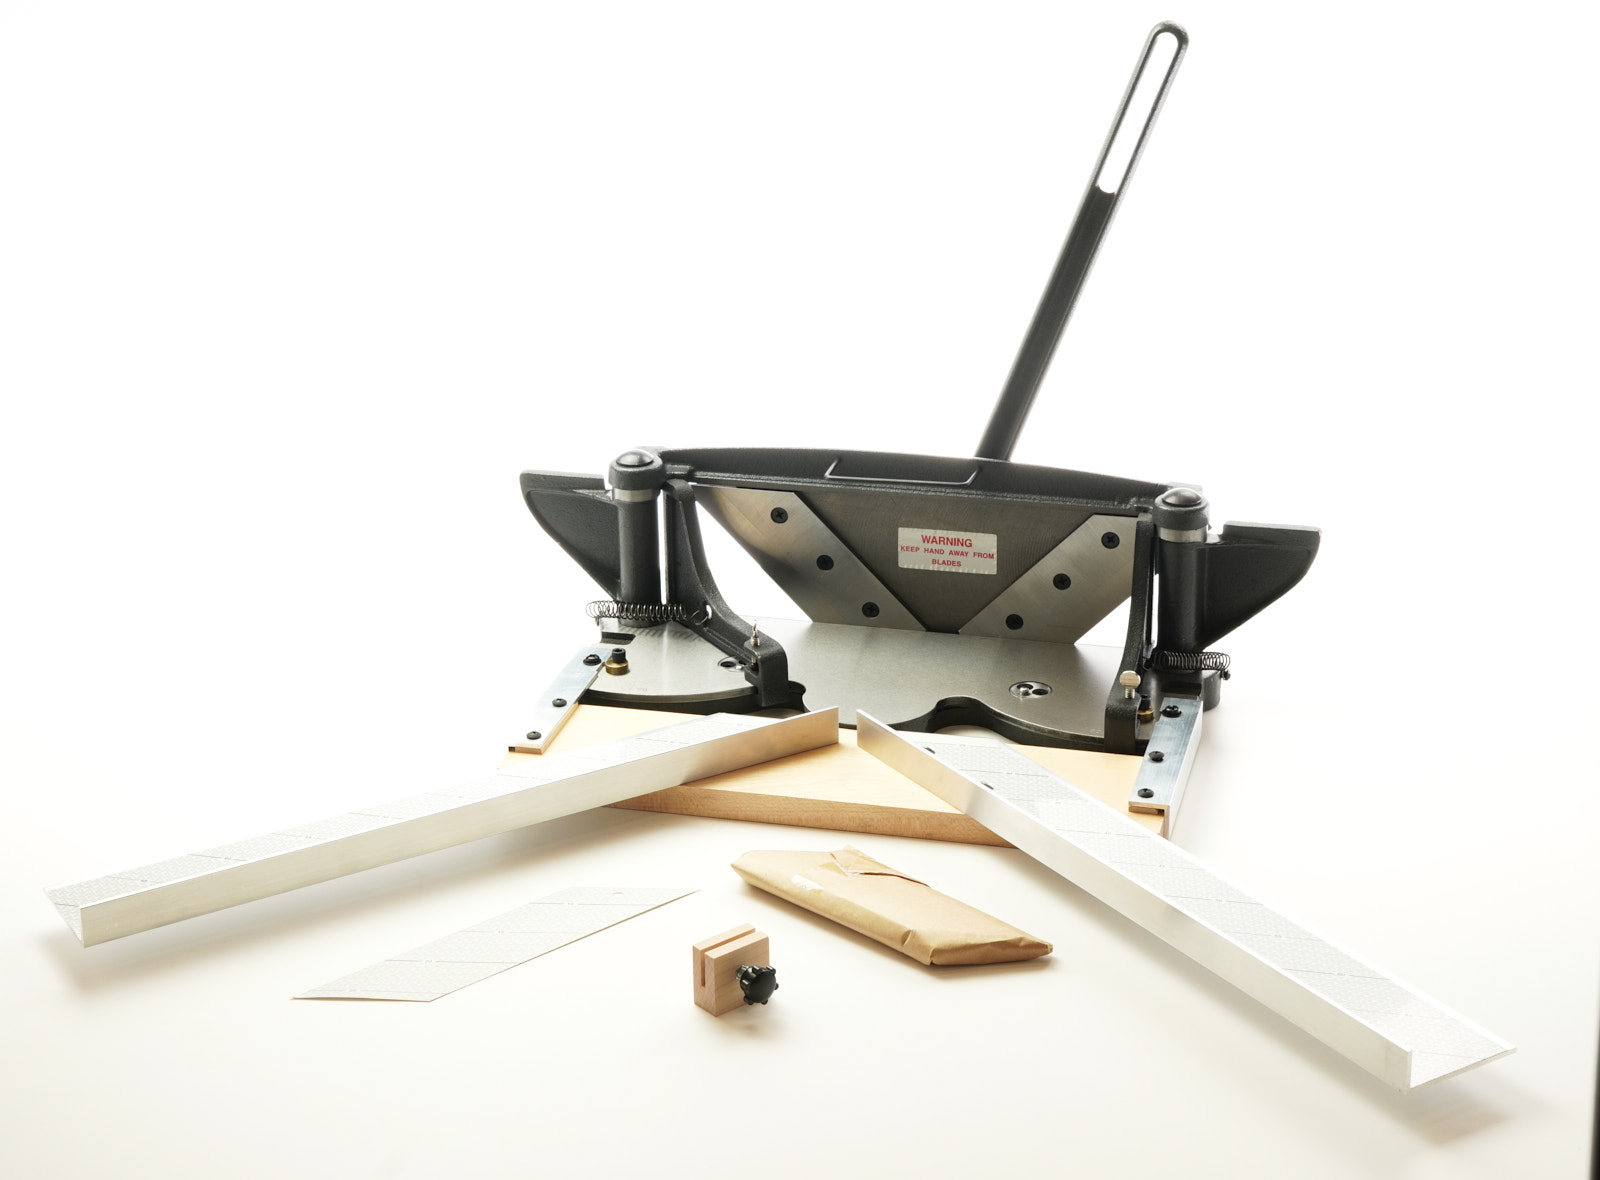
Introducing the mitre trimmer, this tool allows you to trim the end of the moulding giving you an incredibly clean finish every time. This clean cut allows for effortless joining of the corners your picture frame.

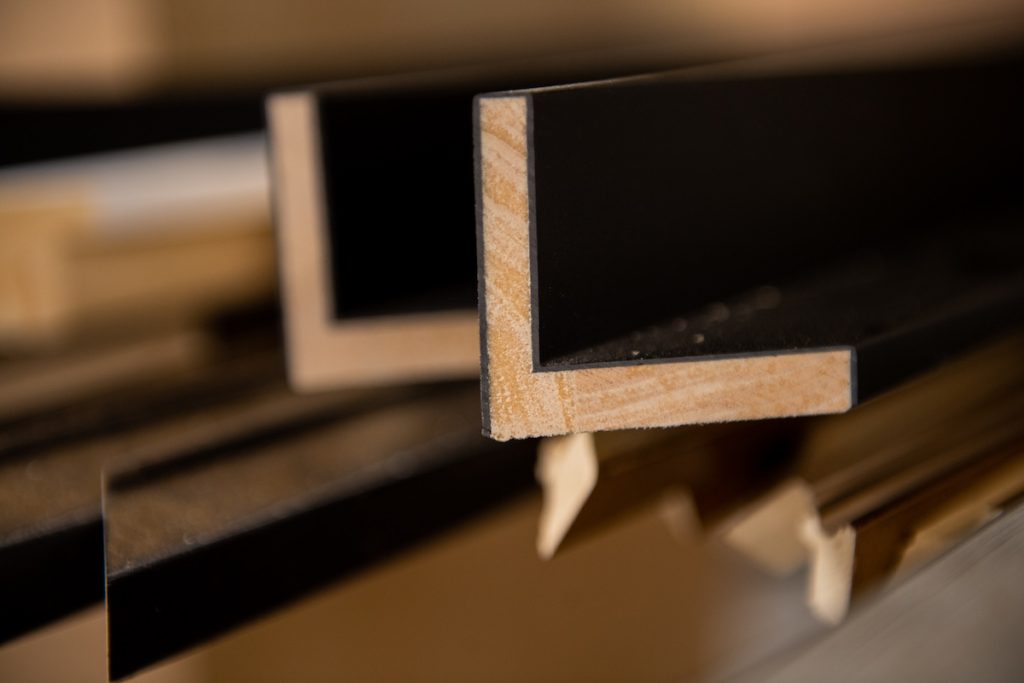
Before cutting any moulding you should firstly, check it for any dents or defects along the surface of the moulding. Secondly and most importantly check for twists in the wood. Twists will make the joining of the frame almost impossible and even if you do manage it, over time the frame will continue to twist and could even break the glass or not sit flat on the wall.

In line with the above tip, when checking the surface of your moulding, be sure to point out any knots in the moulding. Knots are hard to cut through and some can become detached from the moulding leaving you with big holes. The hardened centre of knots also makes the joining very difficult so best to avoid if possible. Knots are mainly in natural wood moulding ranges like pine but on a whole most ranges won’t have them.
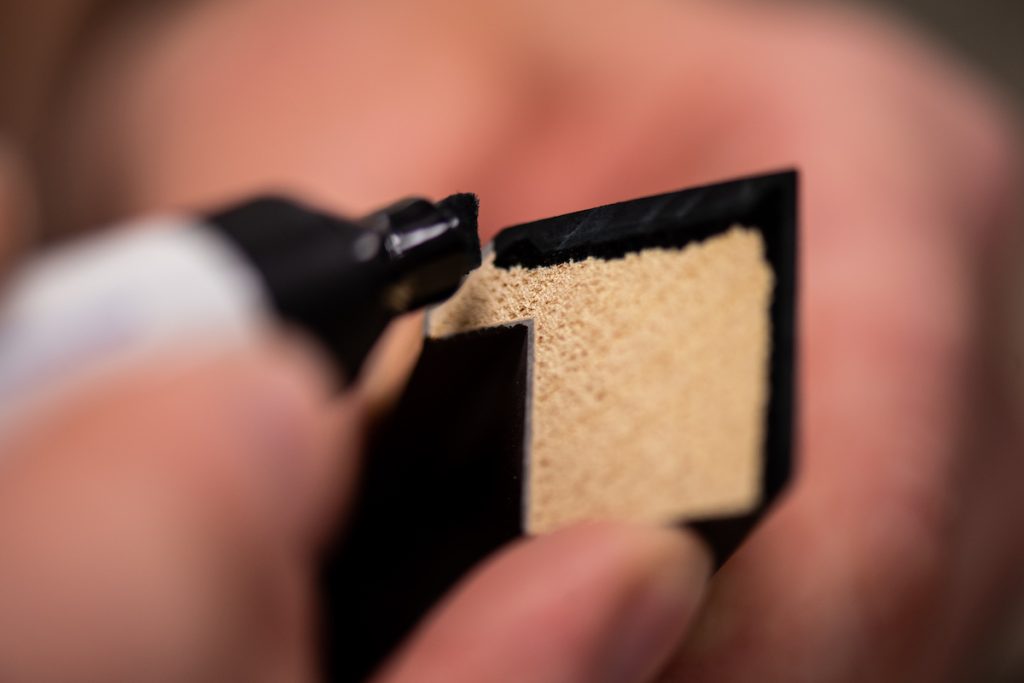
For picture frame moulding with dark surface colours, you can colour the inside edge of the moulding before joining it. This prevents any light colours of the wood showing through any of the small gaps ruining your perfectly cut corners. This only really applies to dark mouldings as it’s less noticeable on lighter coloured mouldings.
Some mouldings can be brittle and prone to chipping and splintering. Most of the time these mouldings are more suited to the professional set up with high speed, quality saws. However, there is a trick that can help.
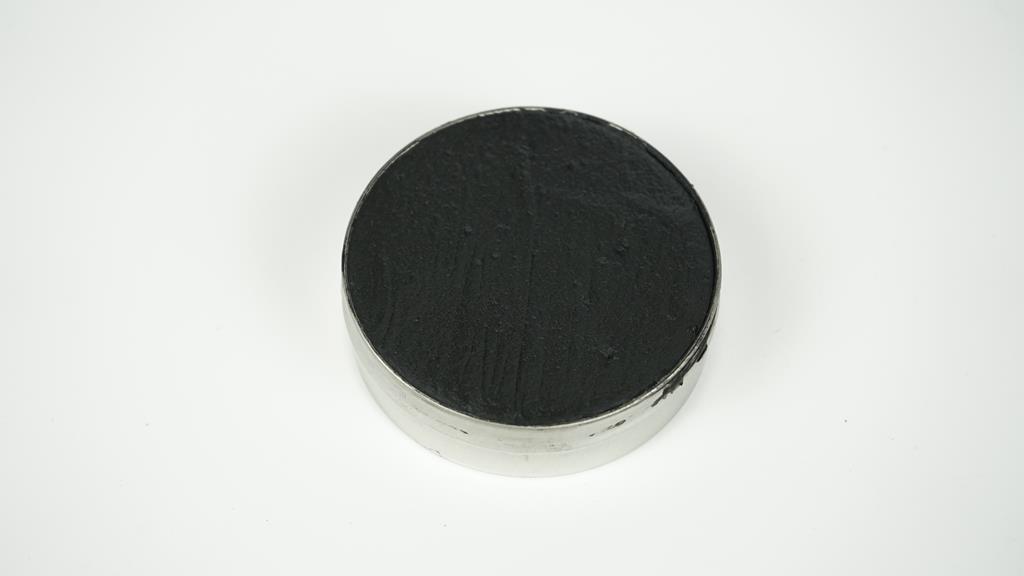
Sometimes despite all your precautions your frame may still have a gap. It happens at a professional level as well as a hobby level so don’t think you’re doing it wrong, sometimes it’s just how the moulding joins. The final trick up our sleeve for perfect corners is using wax fillers to fill any gaps that are still there.
We provide custom and bespoke framing services in store, get in touch to book a consultation with one of our framing team to build your perfect frame!
🕻 01494 459545
9.00 AM – 5:00 PM
Monday – Friday
Don’t have space to cut your own mouldings? Our online chop service is the easiest way to build frames, enter your required size and our team will cut and mitre your choice of mouldings to ensure perfect framed corners.
Use our router service for an easy joining solution


